CNC Bike Headlight – Part 3
Thinking about a proper name for this project- “Mega Beaminator”… what do you think?
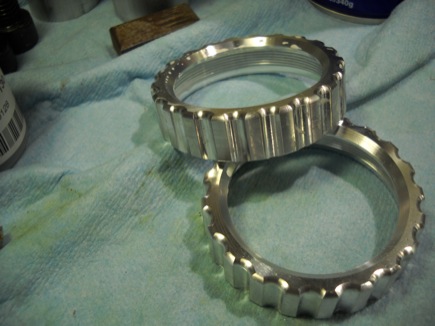
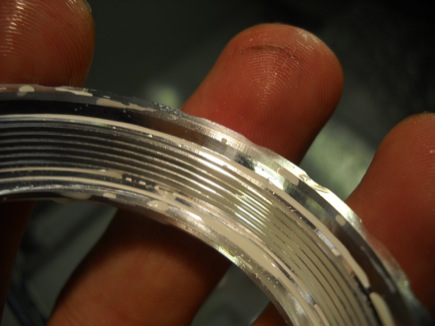
Yesterday I finished running the 2nd operation on the “nose ring” lens retainer piece- as I mentioned last time I opened up the ID behind the threads just enough to make slight pressure on an o-ring dropped into the thread relief groove on the “light body” part, and added a 20 degree chamfer to ease the compression of that o-ring. Since school has started up at Laney it was top priority to get that part out of the machine, so that the CNC class can setup the machine.
I made it back to Bob’s house a couple weeks previous to finish machining the operation I had set up in his Matsuura, the inside cavity in the “Light body”. That went generally without incident, aside from breaking a 4-40 tap in the very first piece. It was clear why that had happened- inadequate coolant, bad tool-holder, non-optimal type of tap- after switching from a spiral flute tap in a drill chuck to a roll-form tap in a tap-holder the rest of the parts went perfectly without incident.
So now, just two more mill operations on the “light body” piece, then a simple 2 operation part- the LED mounting sub-plate that fits inside the “light body” – I mentioned last time that I was planning a handlebar mounting bracket based on o-rings or zip ties or hose clamps- I’m thinking that would be a good application for trying out 3d printing, either on Laney College’s Dimension printer, or through Shapeways (or both!). That way I can design a really goofy part without any concern for how many fixturing setups and special tools it would require to machine it. And making new design iterations if it doesn’t work at first will be much easier. That’ll be a fun challenge once all the machining is done.


on September 17, 2011 at 5:29 am
·